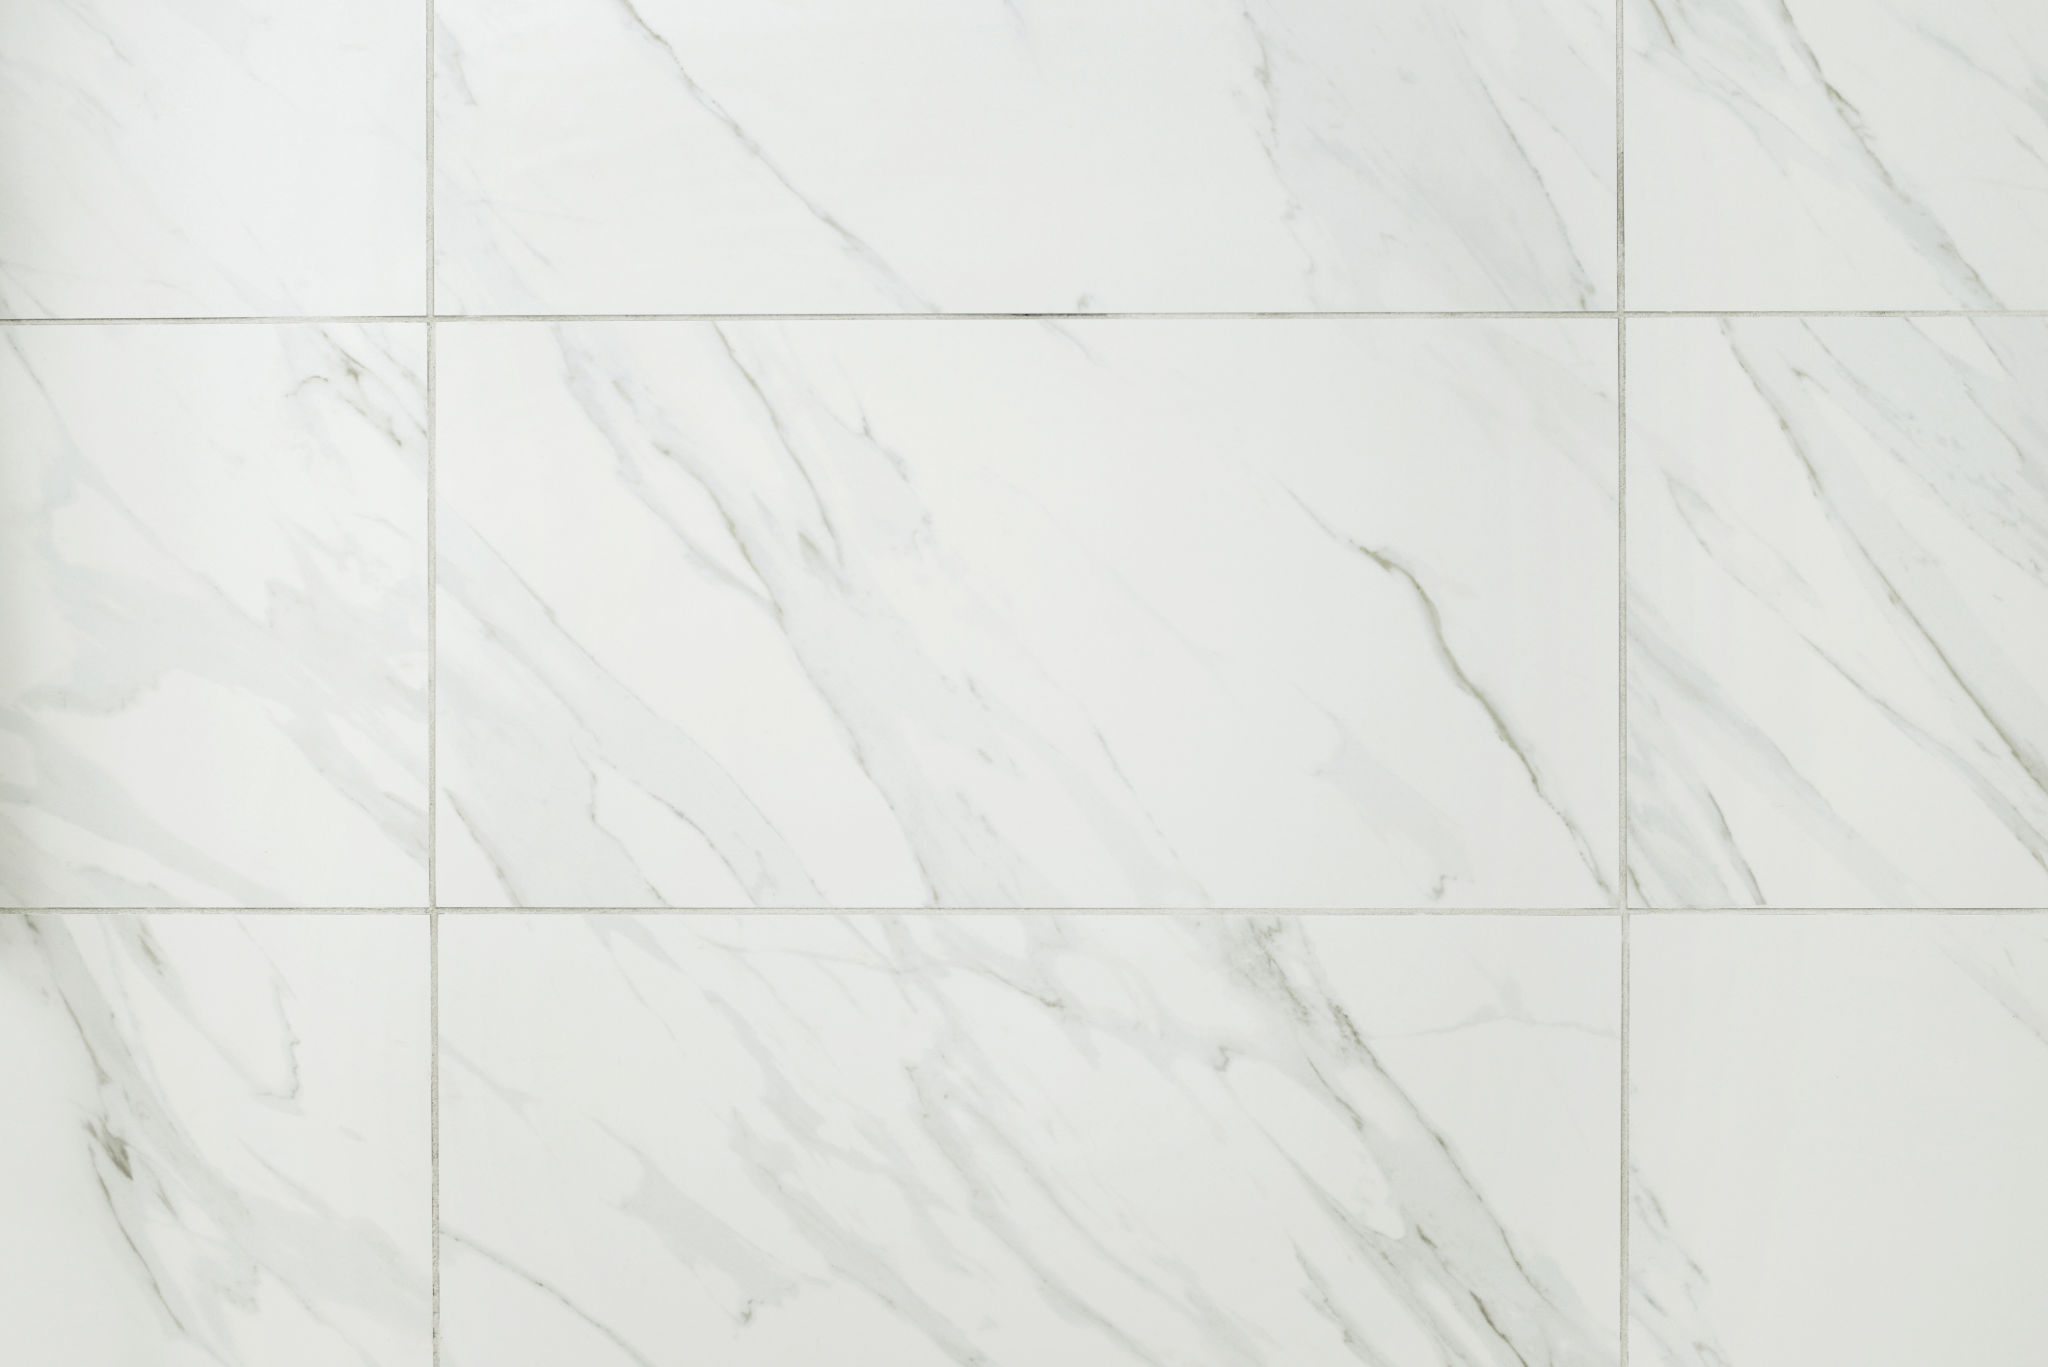
DIY Guide: Installing Marble Surfaces for Home Renovations
Why Choose Marble for Home Renovations?
Marble surfaces bring a touch of elegance and luxury to any home. Known for their timeless beauty and durability, marble surfaces are perfect for kitchens, bathrooms, and even flooring. The natural patterns and colors of marble can transform any room into a sophisticated space, adding value to your home.
While professional installation is available, many homeowners opt for a DIY approach to save on costs. With the right tools and guidance, installing marble surfaces can be a rewarding project. Below, we provide a step-by-step guide to help you achieve professional results.

Gathering Your Tools and Materials
Before beginning any installation, it's crucial to have all the necessary tools and materials on hand. Here's what you'll need:
- Marble slabs or tiles
- Tile saw with a diamond blade
- Level
- Measuring tape
- Adhesive suitable for marble
- Grout
- Notched trowel
- Rubber mallet
- Sealant
- Sponge and bucket
Having everything ready before you start ensures a smooth installation process. Ensure you also have safety equipment such as gloves and goggles to protect yourself during the cutting and setting stages.
Preparing the Surface
The key to a successful marble installation is proper preparation of the surface. Begin by ensuring that the area is clean, dry, and level. Any imperfections in the surface can affect the final appearance of the marble.
If you're installing marble over an existing surface, such as old tiles, make sure they are well adhered and leveled. For new installations, a cement backer board can provide a stable foundation, especially in areas exposed to moisture.

Cutting and Laying the Marble
Using a tile saw with a diamond blade, carefully cut the marble to fit your space. Always measure twice before cutting to avoid mistakes. When laying the marble, apply the adhesive with a notched trowel, using enough to ensure a strong bond without causing excess to seep through the seams.
Place each marble piece gently, using a rubber mallet to tap it into place. Continuously check your work with a level to ensure that each piece is even with the others. This step may require patience but is crucial for achieving a professional look.
Grouting and Sealing
Once all pieces are laid and the adhesive has set, it's time to grout. Choose a grout color that complements your marble. Apply it using a rubber float, ensuring all joints are filled completely. After applying the grout, wipe away any excess with a damp sponge.

The final step is sealing the marble. Sealing protects the stone from stains and enhances its natural beauty. Apply the sealant according to the manufacturer's instructions, allowing it to dry completely before using the surface.
Caring for Your Marble Surfaces
Maintaining your new marble surfaces is essential to preserving their beauty. Regular cleaning with a pH-balanced cleaner will prevent etching and staining. Avoid harsh chemicals that can damage the surface.
With proper care and maintenance, your DIY-installed marble surfaces will remain stunning for years to come, making them a valuable addition to your home.
