
Expert Insights: The Art of Natural Stone Installation


Understanding the Basics of Natural Stone Installation
Natural stone installation is both an art and a science. It requires a skilled hand and a deep understanding of the materials being used. Whether you're working with marble, granite, or limestone, each type of stone has its own unique properties and challenges. Mastering the basics is essential for achieving a flawless finish.
Choosing the Right Stone for Your Project
The first step in any natural stone installation project is selecting the right stone. Consider the aesthetic you wish to achieve and the functional needs of the space. For instance, granite is highly durable and ideal for kitchen countertops, while marble offers a luxurious look suitable for bathrooms and entryways.
When choosing natural stone, keep in mind:
- Durability: Some stones are more resistant to wear and tear.
- Porosity: Affects how well the stone can resist stains.
- Color and pattern: Natural stones come in a wide range of hues and patterns.
Preparing the Surface
Proper surface preparation is crucial for a successful installation. Ensure that the substrate is clean, level, and structurally sound. Any imperfections can lead to issues down the line, such as cracking or uneven tiles.
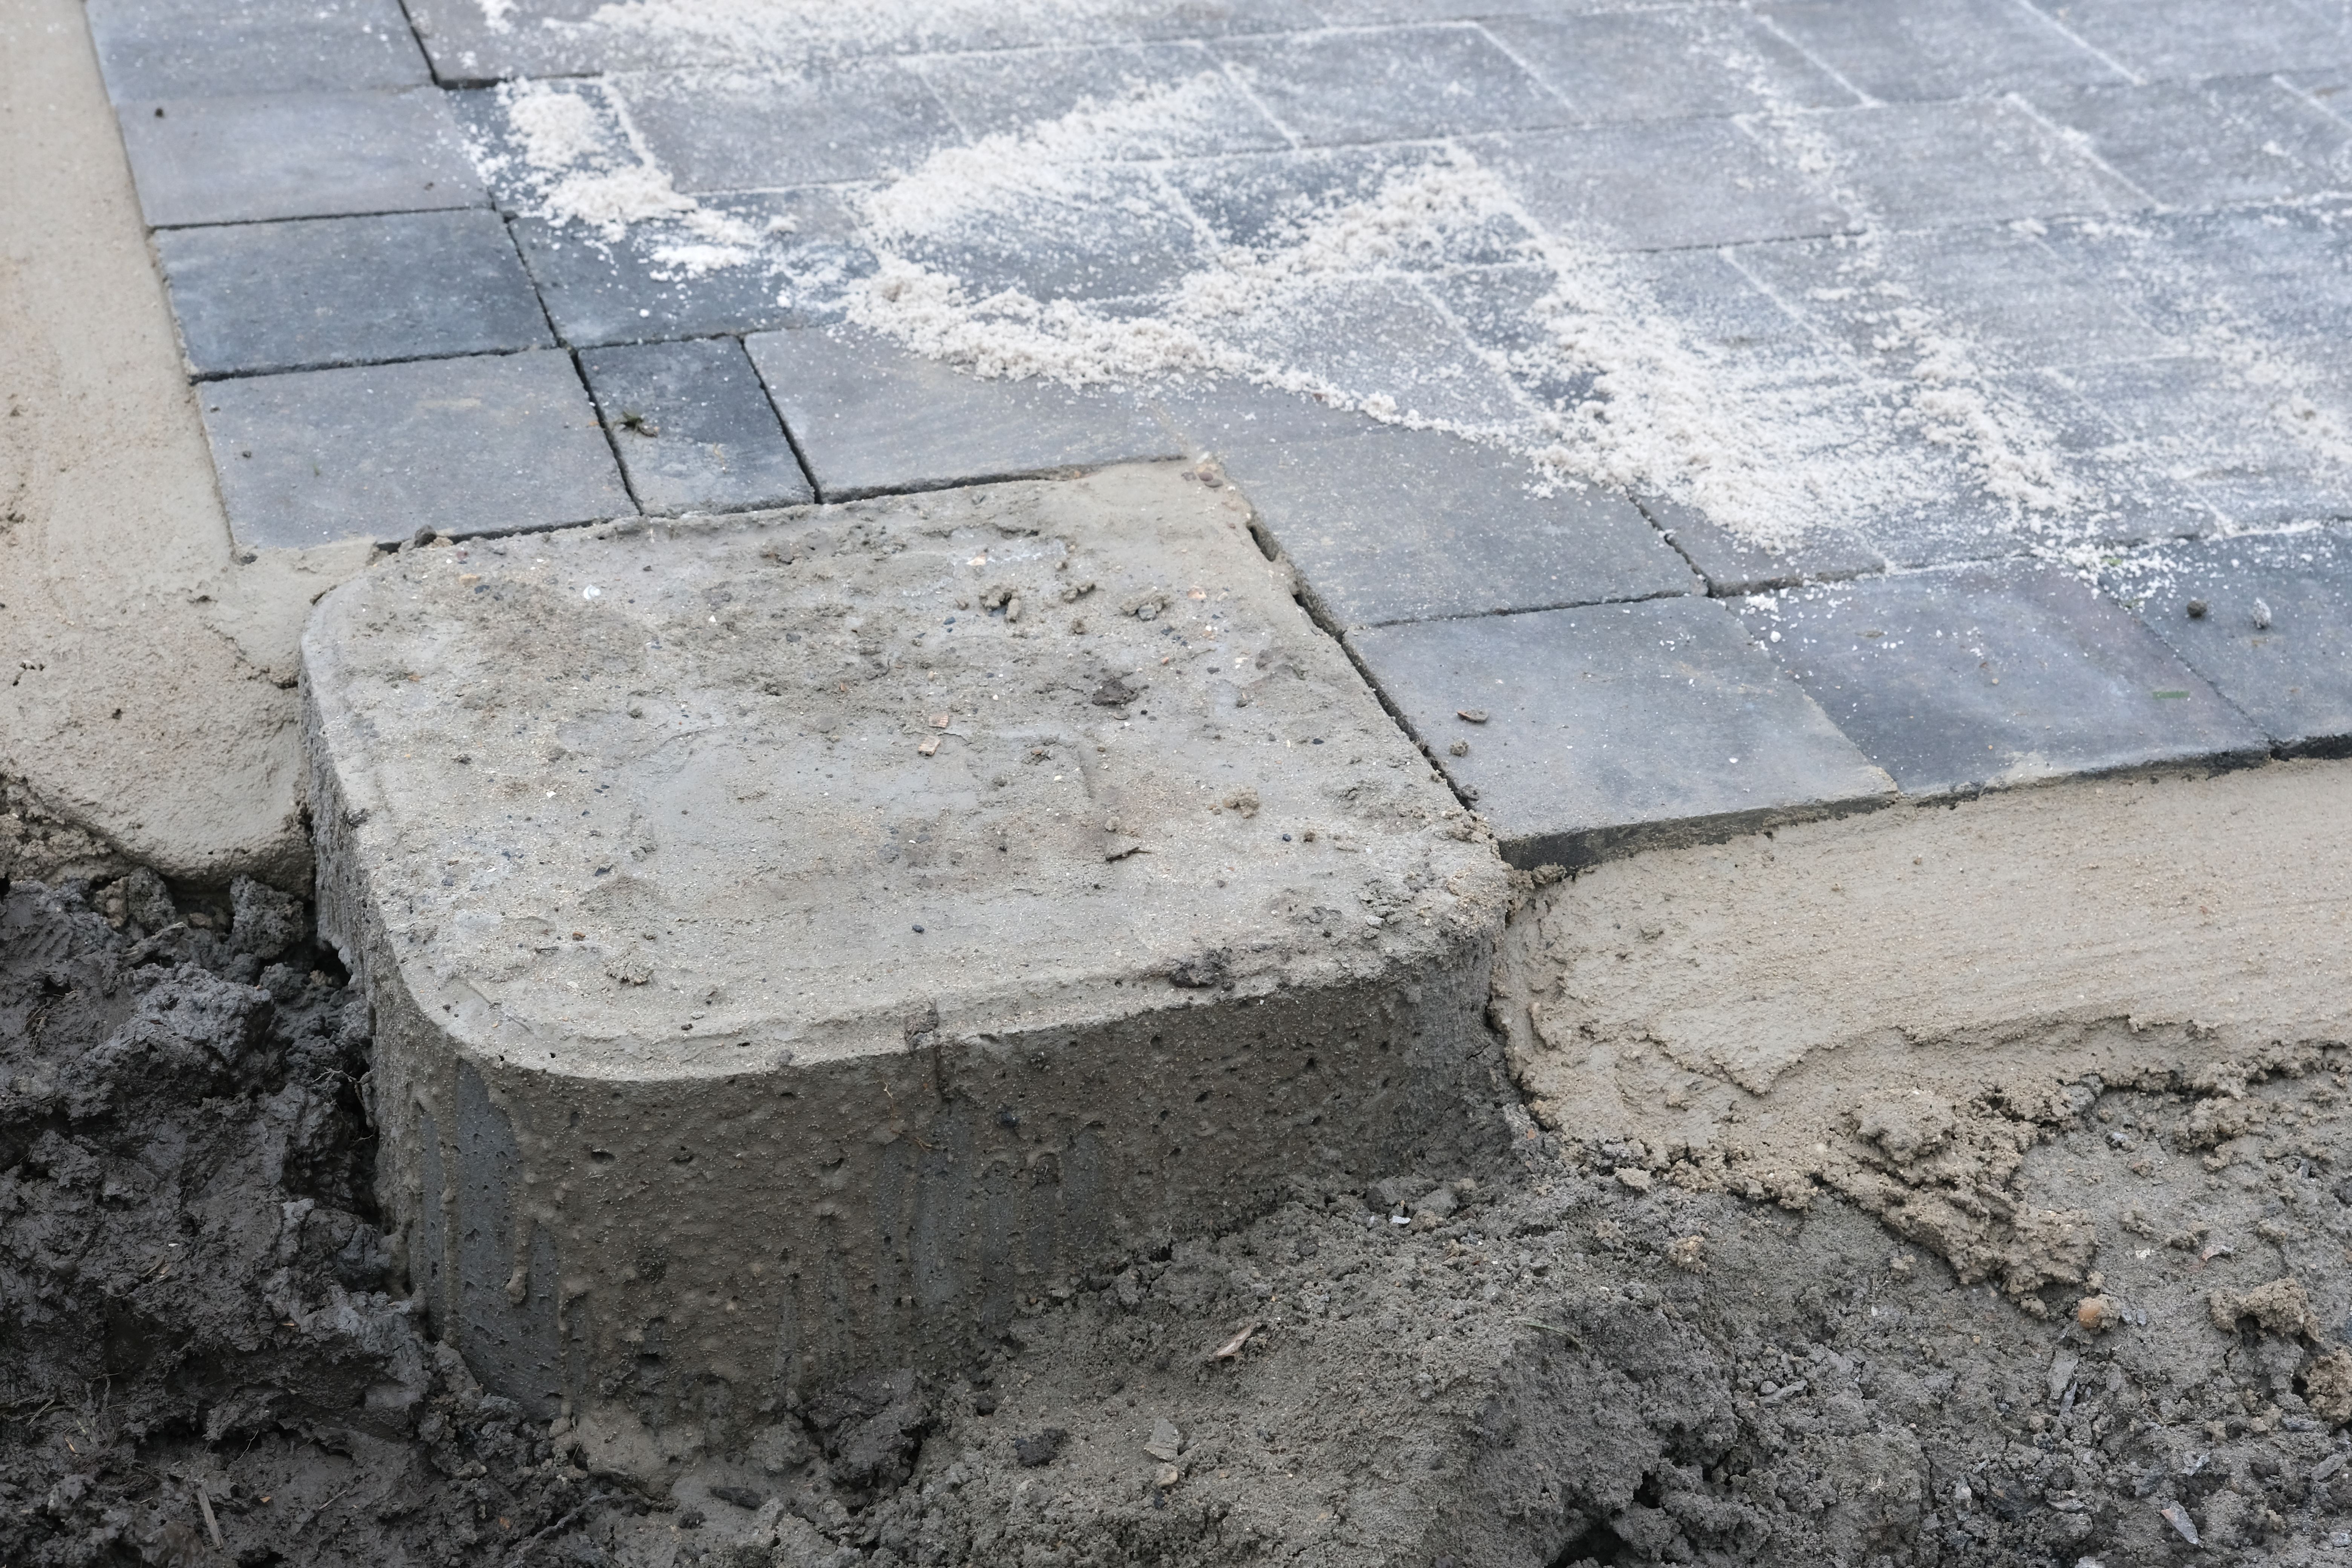
Once the surface is ready, apply a suitable adhesive or mortar. The choice of adhesive depends on the type of stone and the substrate. Follow the manufacturer's instructions to ensure the best results.
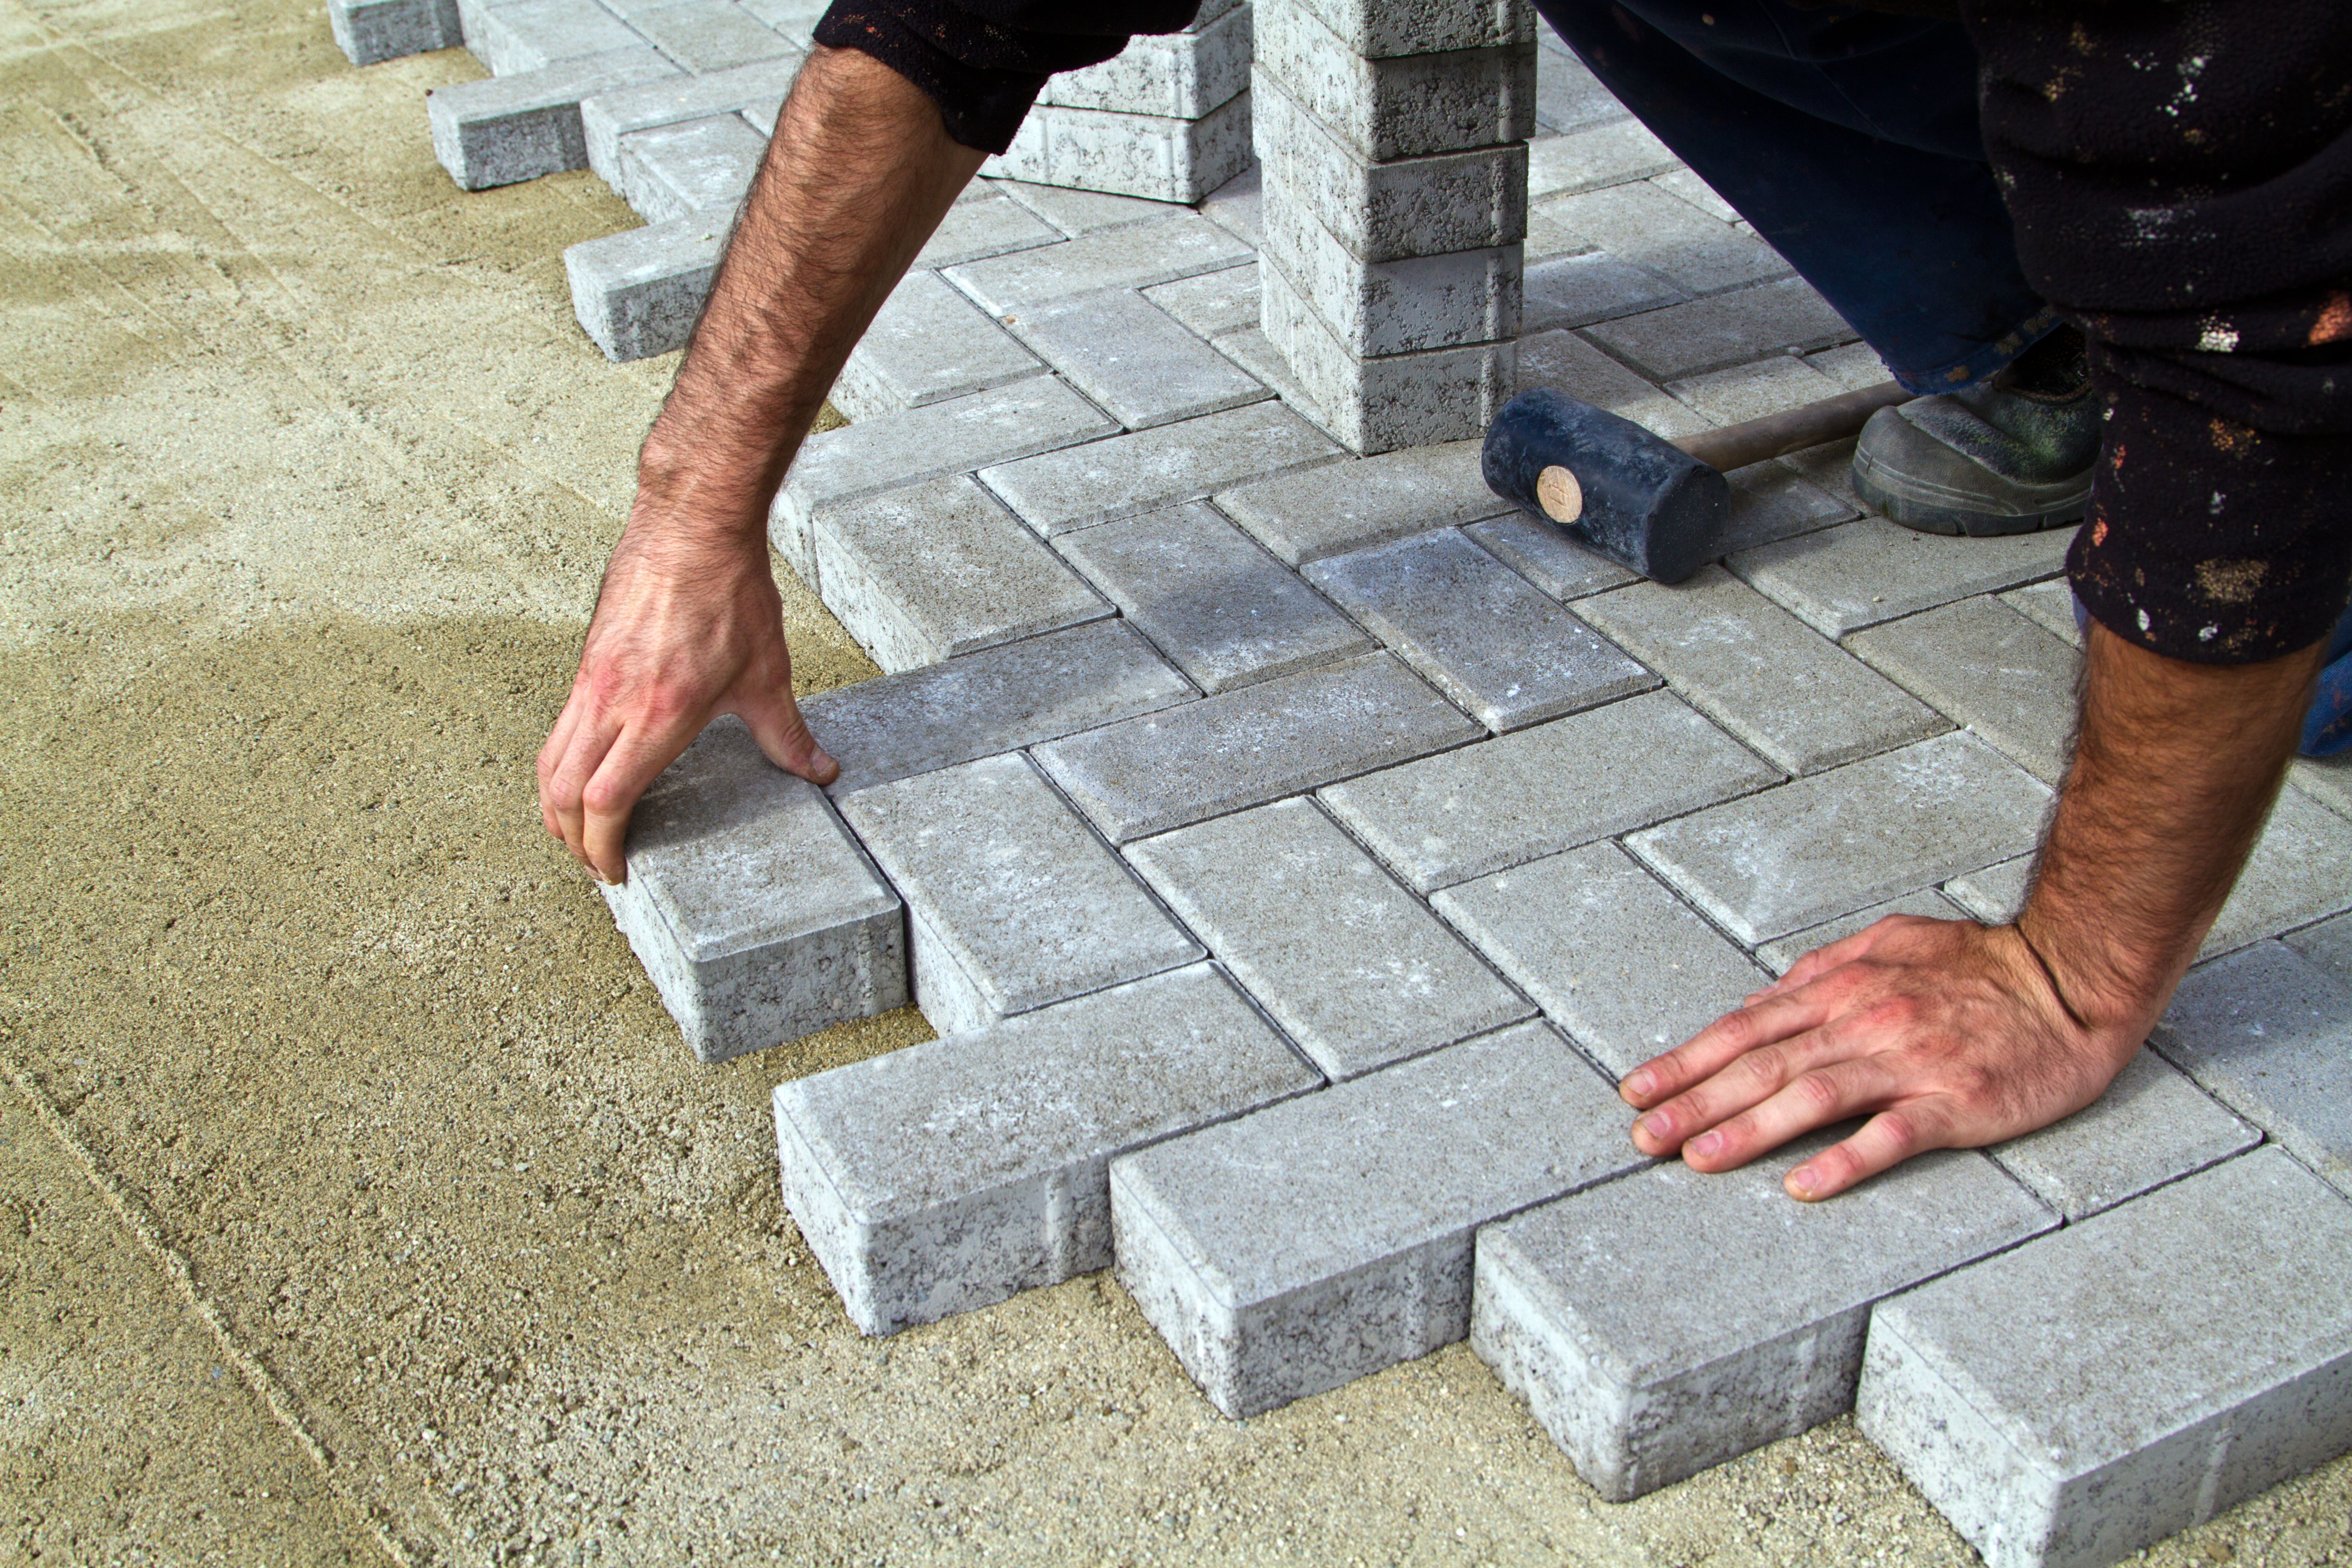
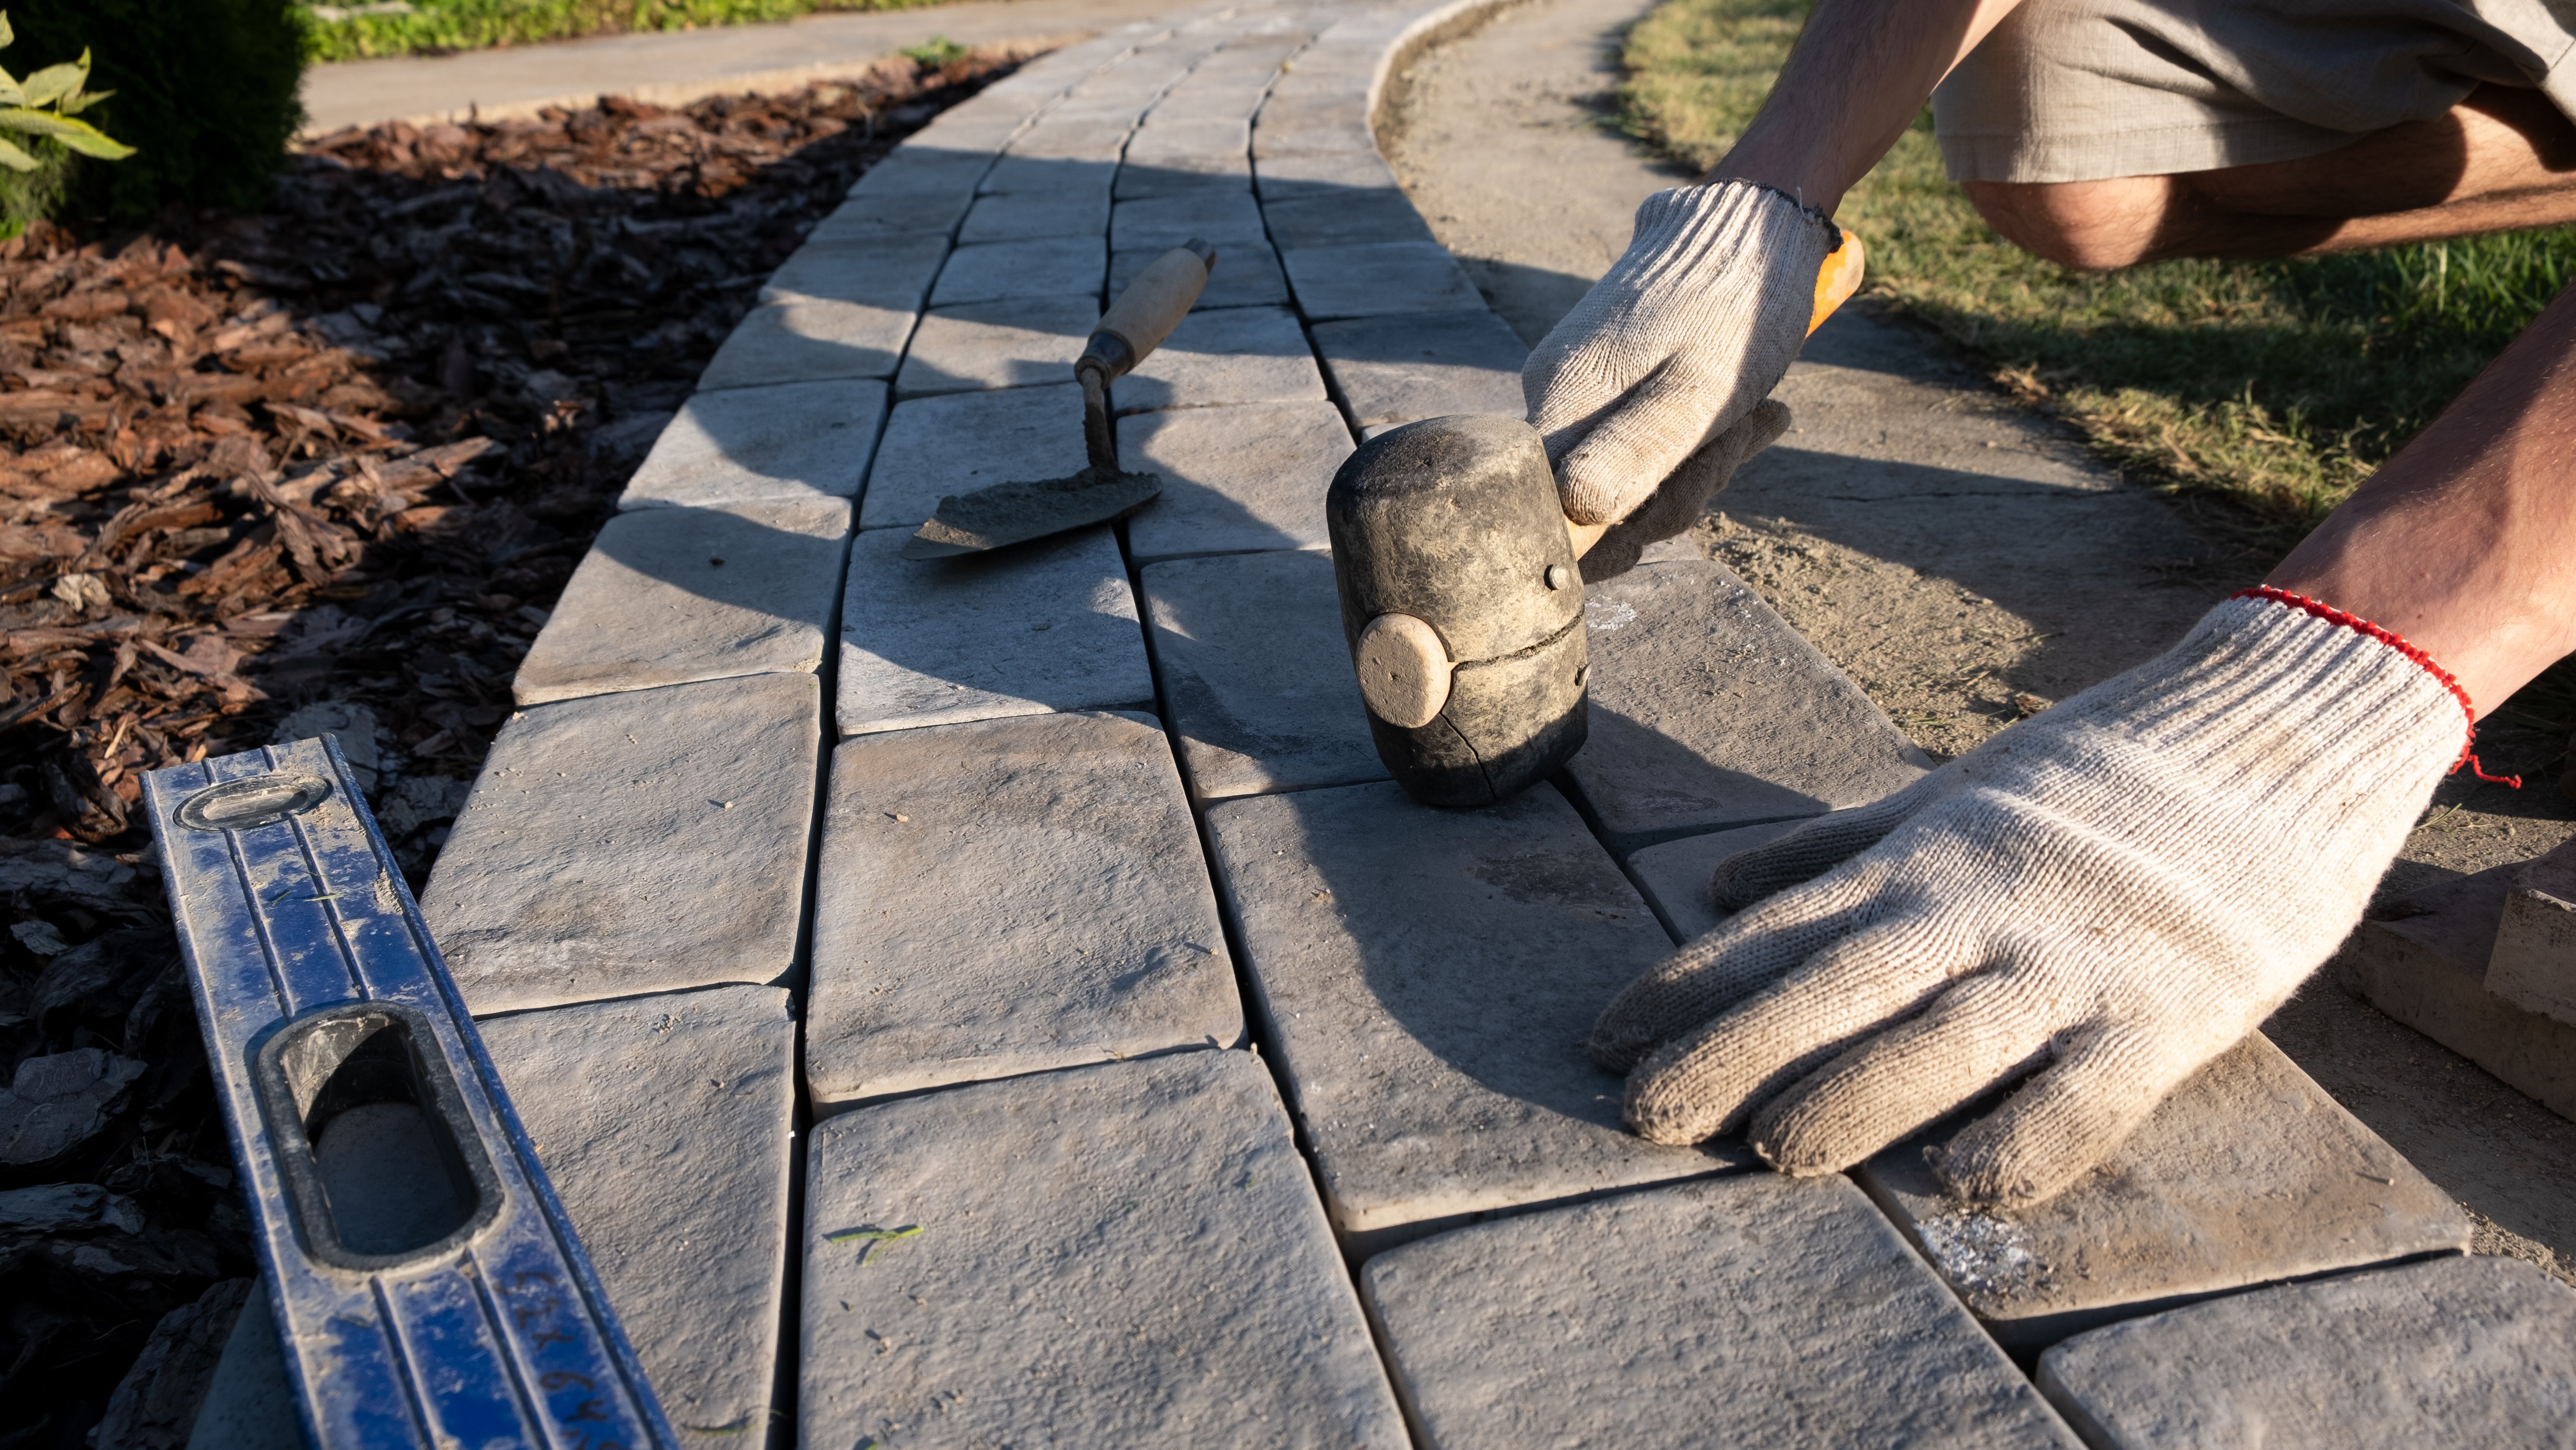
The Installation Process
The installation process itself requires precision and patience. Begin by laying out the stone pieces to ensure a pleasing pattern and fit. It's often helpful to do a dry run before applying adhesive. This allows adjustments without the pressure of setting materials.
Cutting and Fitting
Cutting natural stone to fit around corners and edges can be challenging. Use the right tools, such as a wet saw, to achieve clean cuts. Always wear protective gear when cutting stone to avoid injuries.
When fitting the stones, maintain consistent grout lines for a polished appearance. Spacers can help keep lines even and ensure proper alignment.
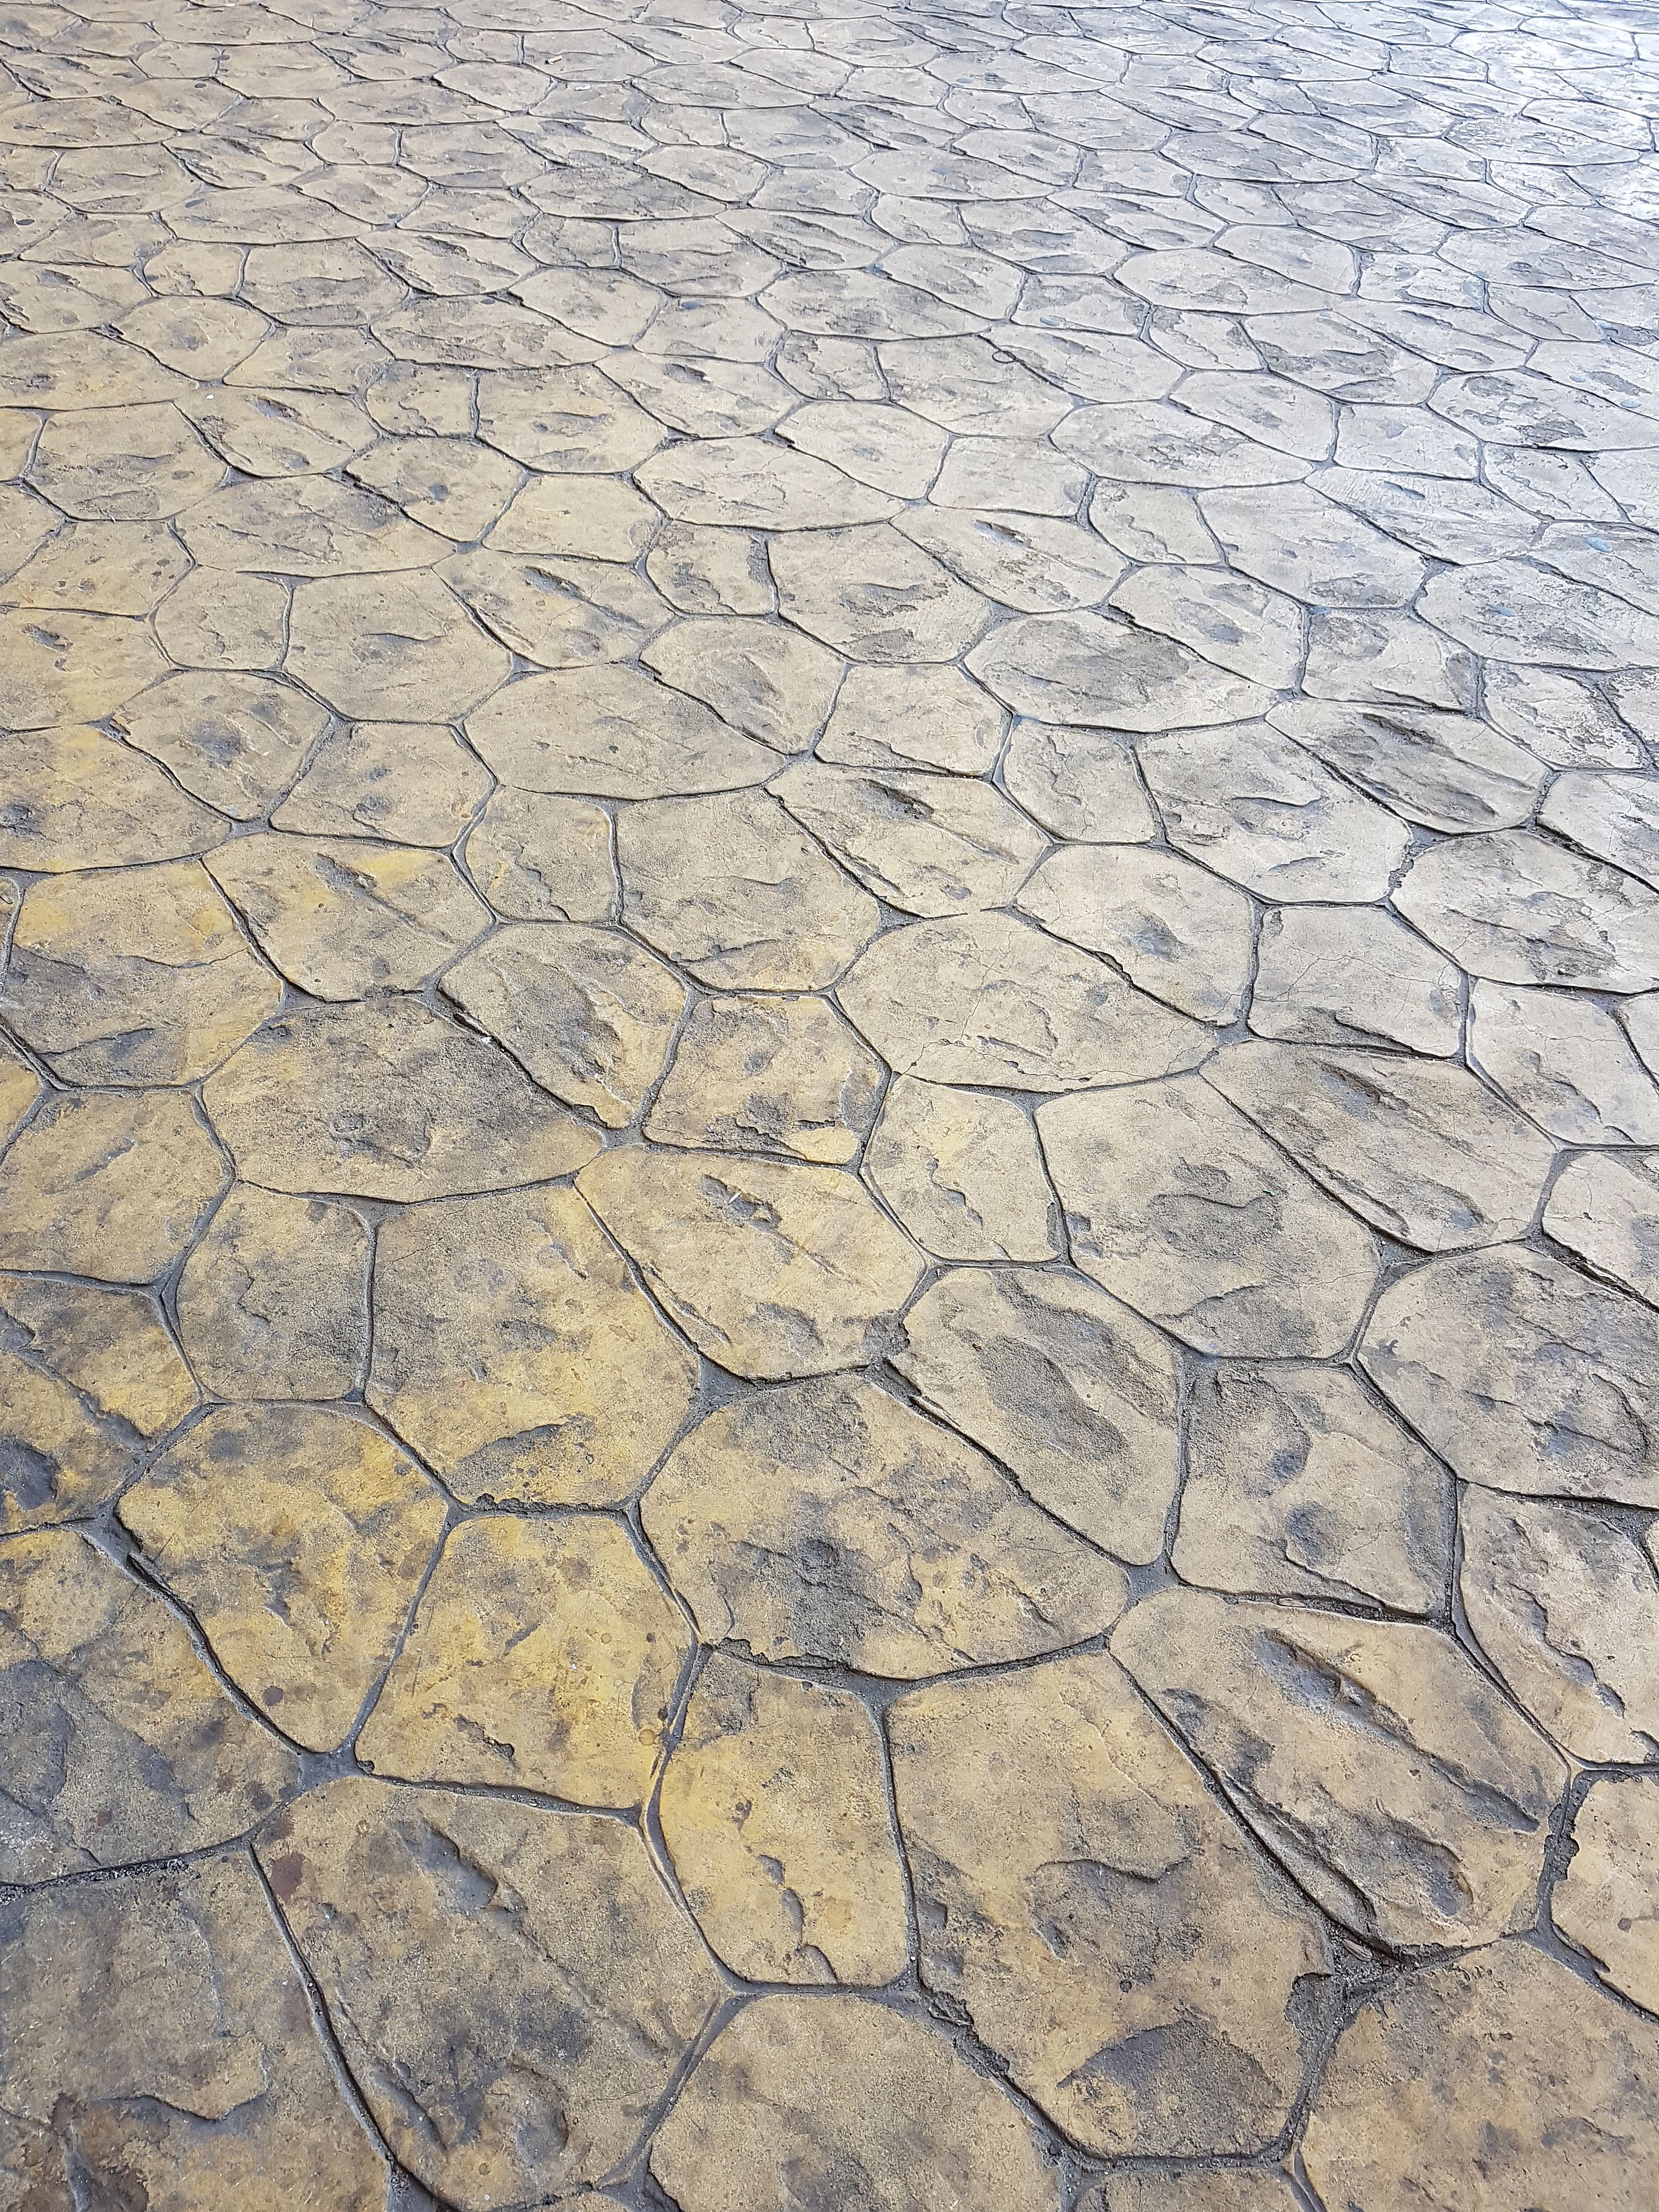
Sealing and Finishing
After installation, sealing the stone is a critical step to protect it from stains and moisture. Choose a high-quality sealer appropriate for the type of stone. Apply it evenly and allow sufficient time for drying.
Finally, polish the stone to enhance its natural beauty and luster. Regular maintenance, including resealing and cleaning, will keep your stone looking its best for years to come.
Conclusion
Natural stone installation is a rewarding endeavor that can transform any space. By understanding the materials and following the right techniques, you can achieve stunning results. Whether you're a DIY enthusiast or a seasoned professional, mastering the art of stone installation is a valuable skill that combines creativity with technical expertise.