
Step-by-Step Guide to Marble Installation for Residential Projects


Understanding Marble Selection
Marble is a timeless and elegant choice for residential spaces, offering a luxurious finish that enhances any interior. Before diving into the installation process, it's crucial to select the right type of marble. Consider factors such as color, veining, and finish to match your design vision. Additionally, assess the marble's durability and maintenance requirements to ensure it suits your lifestyle.
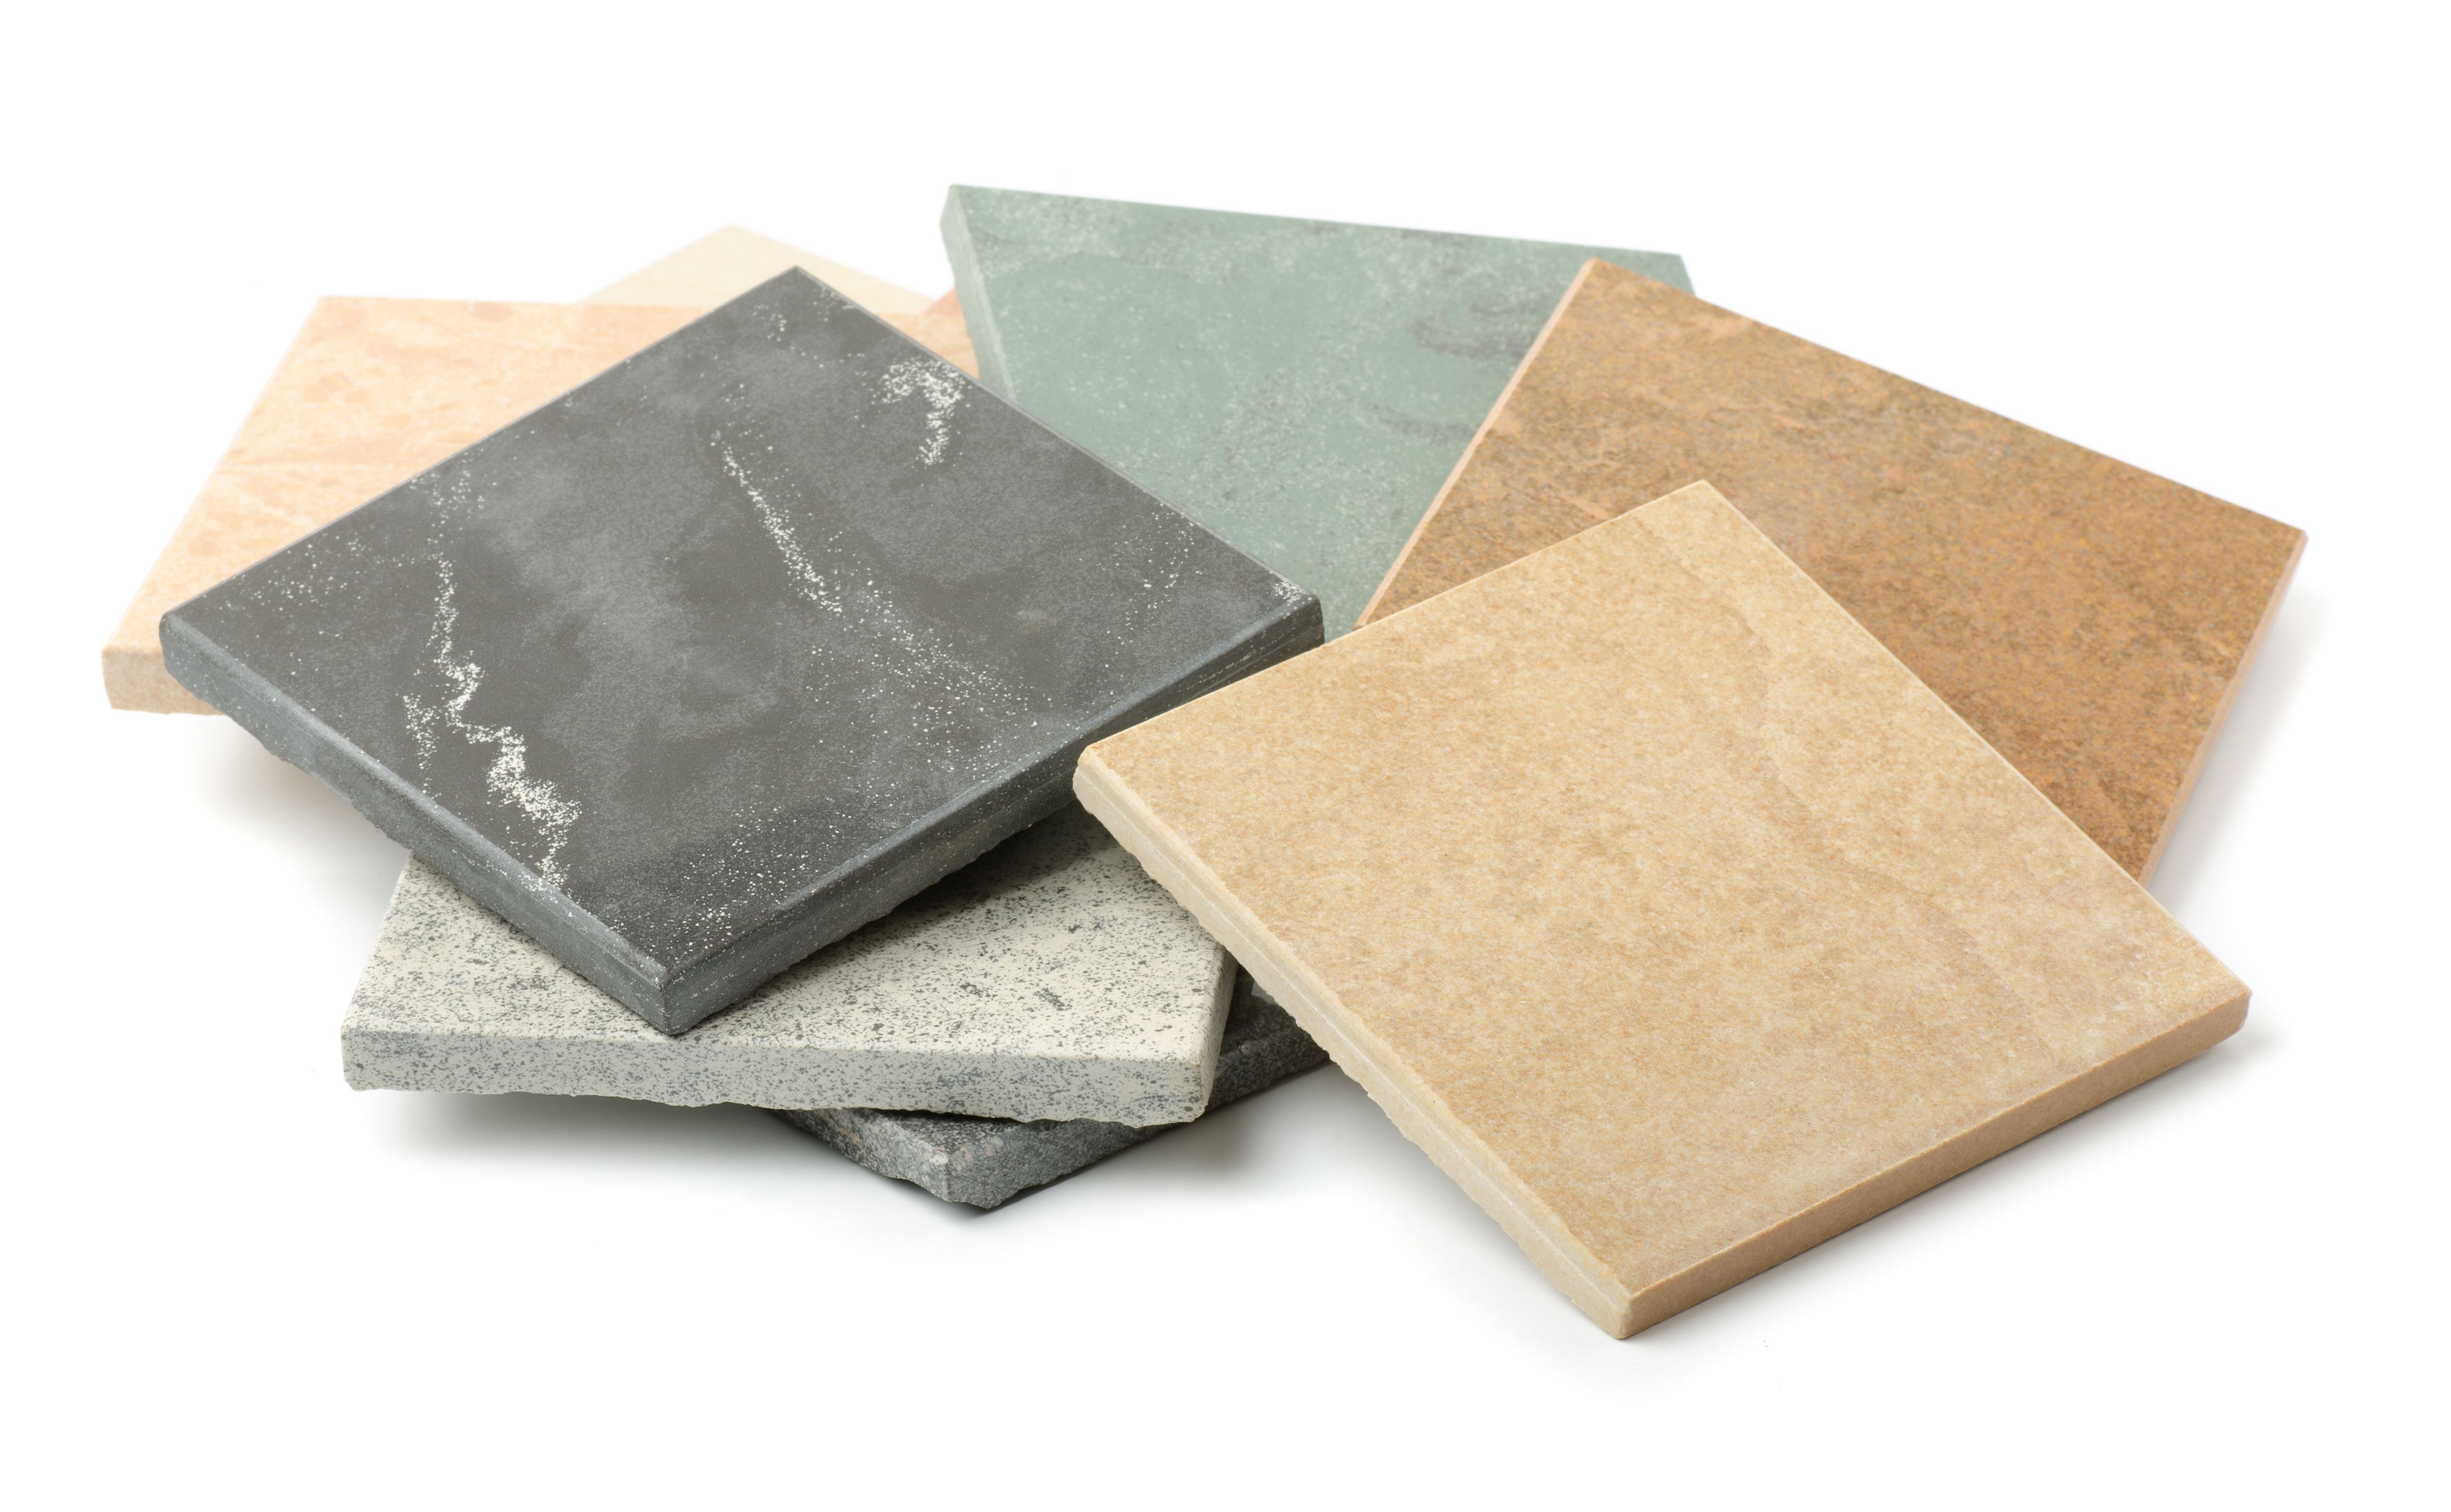
Types of Marble
There are various types of marble available, each with unique characteristics. Some popular options include Carrara, Calacatta, and Statuario. Carrara marble is known for its grayish tones and softer veining, while Calacatta offers bolder patterns with dramatic veining. Statuario is highly sought after for its pure white background and striking veins. Choose the type that aligns with your aesthetic and functional needs.
Preparing for Installation
Proper preparation is key to a successful marble installation. Start by measuring the area to determine how much marble you will need. It's advisable to purchase extra tiles to account for cuts and potential breakage. Ensure that the subfloor is clean, dry, and level to prevent issues during installation.

Tools and Materials
Gather all necessary tools and materials before beginning the installation. You will need a wet saw, trowel, level, spacers, and a rubber mallet. Additionally, secure high-quality thin-set mortar and grout to ensure the tiles are properly adhered and sealed.
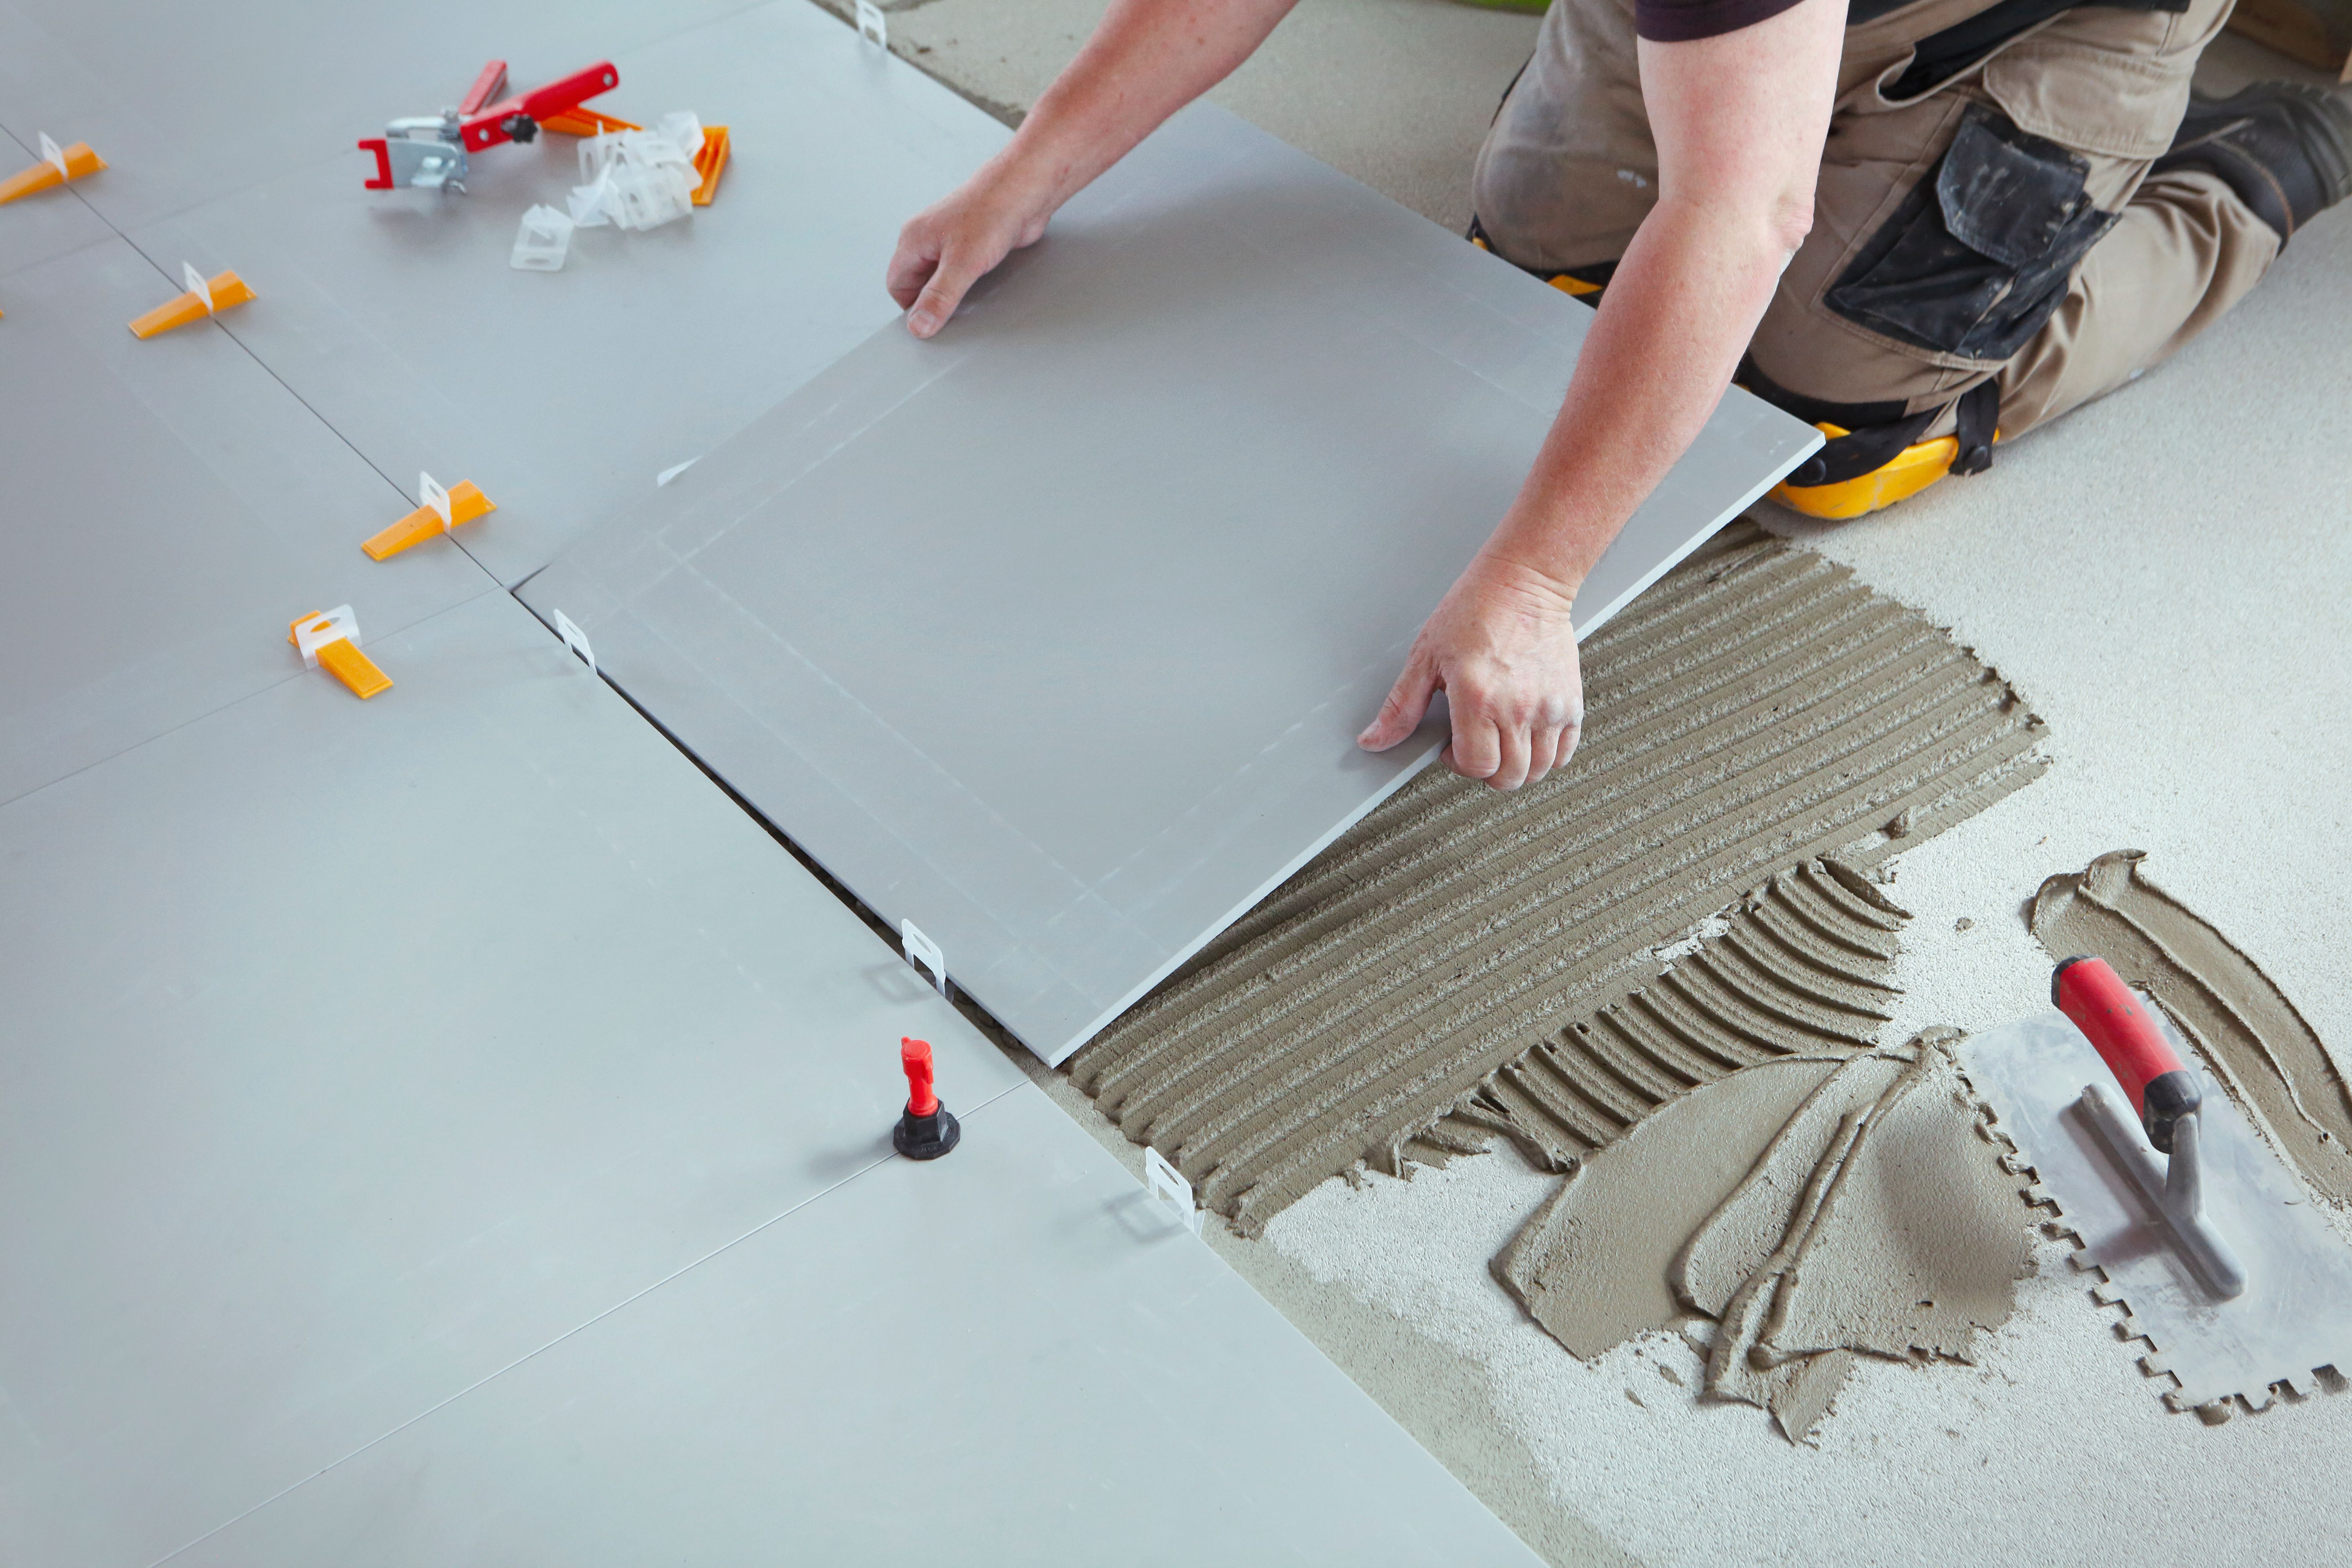
Installing the Marble
With preparations complete, you can begin the installation process. Follow these steps for a smooth and efficient installation:
- Layout Planning: Dry lay the marble tiles to determine the best layout and minimize cuts.
- Applying Mortar: Use a trowel to spread thin-set mortar evenly on the subfloor.
- Setting Tiles: Place the tiles carefully, using spacers to maintain consistent gaps.
- Leveling: Use a level to ensure each tile is even with its neighbors.
- Cutting: Use a wet saw to make precise cuts for edges and corners.
Finishing Touches
Once all tiles are set, allow the mortar to cure according to the manufacturer's instructions. After curing, remove spacers and apply grout to fill the gaps between tiles. Wipe away excess grout with a damp sponge, ensuring a clean finish. Finally, seal the marble to protect it from stains and moisture.
Maintenance Tips
To keep your marble surfaces looking pristine, regular maintenance is essential. Clean the marble with a pH-neutral cleaner and avoid using abrasive materials that can scratch the surface. Reapply the sealant periodically to maintain its protective barrier.

Conclusion
Marble installation can transform a residential space with its elegance and sophistication. By carefully selecting the right marble, preparing adequately, and following a meticulous installation process, you can achieve a stunning result. With proper care and maintenance, your marble surfaces will remain a beautiful feature in your home for years to come.